
Essential Ground Prep Steps Before Building Your Home
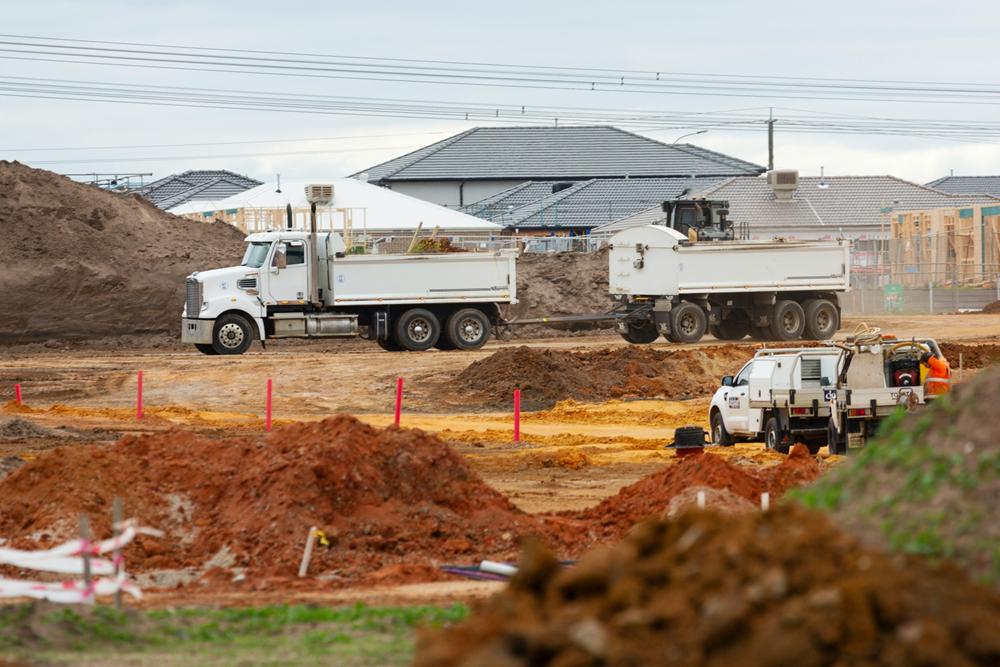
A stable home starts with careful preparation below and around the future foundation. Before excavation begins, you need accurate boundaries, suitable soil and a clear plan for moving rainwater away from the structure. Mistakes at this stage can lead to redesigns, construction delays or costly drainage repairs later. Coordinate the surveyor, site contractor, arborist and geotechnical engineer early so each professional works from the same site plan and construction schedule.
Surveying the Building Envelope
Hire a licensed surveyor to mark property boundaries, easements and the approved building footprint before any clearing begins. The survey should also record existing elevations, access points and features that may affect construction. A practical land preparation checklist can help you identify items to discuss during this early site review.
Ask the surveyor to place durable stakes at building corners and key setback lines. Protect those markers during site work because replacing them can interrupt excavation. Confirm where contractors will store materials and operate equipment too. A narrow access route or overlooked utility corridor may affect the house position once machines arrive.
Clearing the Lot with Precision Tree Removal
Clear only the areas needed for the house, access route, utility trenches and safe working space. Mark trees that must remain with visible tape and establish protection zones around their roots. Heavy equipment can compact soil or damage major roots even when a trunk appears untouched.
Trees that lean toward the building envelope, conflict with excavation or have storm damage need assessment before site work starts. For Rockhampton homeowners preparing residential property, professional tree removal can address trees that can't safely remain. Your clearing plan should also cover stumps, roots and green waste. Guidance on home-building land preparation shows why access and debris handling should be planned before machinery enters the lot.
Soil Testing and Compaction Standards
Arrange geotechnical testing after initial clearing gives technicians access to the building footprint. The investigation may include boreholes or test pits that identify soil layers, moisture conditions and the depth of stable material. Results help the engineer select an appropriate foundation design and determine how excavated areas should be refilled.
Get written compaction requirements for every structural fill layer. Specifications often state the fill material, maximum layer thickness, moisture range and required percentage of laboratory-tested density. These values vary by soil and project, so don't accept a universal target from a contractor. Request field test reports for completed layers, especially beneath foundations, slabs and driveways. If soft pockets appear, pause work until the engineer recommends removal or stabilization.
Grading for Effective Surface Drainage
Shape the finished ground so rainfall flows away from the house and toward an approved discharge point. The grading plan should show elevations at foundation edges, property boundaries, driveways and drainage structures. It must also account for neighboring lots so runoff doesn't create a new problem beyond your boundary.
Check proposed levels against door thresholds, garage entries and the top of the foundation. Even a well-designed slope can fail if paving or garden beds are later installed too high. Keep topsoil separate from structural fill, then use it only in planting areas once major grading is complete. Before construction advances, walk the site after rain and look for pooling near the building pad. Water lingering there usually signals a low spot that should be corrected while grading equipment remains available.
Document the final elevations and underground drainage locations before they disappear beneath paving or landscaping. Those records will make future maintenance far easier and confirm that the prepared lot matches the design used for the foundation.